Step 1
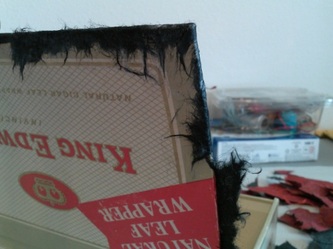
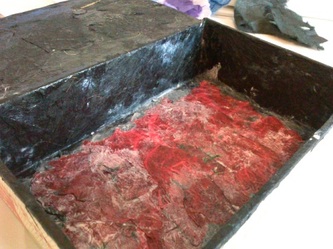
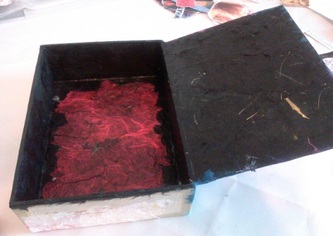
First, you will choose your papers or fabric to glue on the box. You can start with the inside or the outside. After the box is dry, you can add on your other items to embellish it. For this box, I chose to start with the inside. I used an old cigar box that belonged to my late father. It had an emotional connection for me so it worked well. I chose to glue torn pieces of black and red Japanese handmade paper in it to symbolize the death of my babies. Another idea would be to line the inside of the box with fabric, much like a casket. When using the Mod Podge glue, the paper will look milky but will dry clear. You can put more than one coat on if you choose. I ended up with two coats on this. When gluing the lid and edges, like in a cigar box, make sure you continue to wrap the paper over the edges. Periodically check to make sure the lid still closes. With a separate lid, you will need to be careful not to make the top edge of the box and the inside edge of the lid too thick so that the lid still fits after it is dry.
Step 2
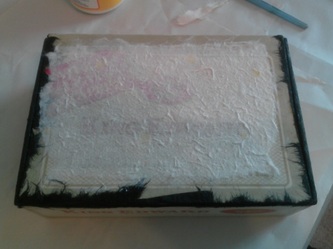
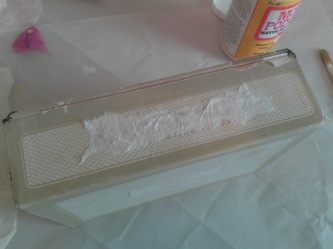
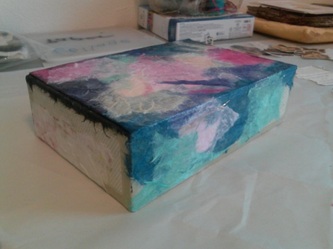
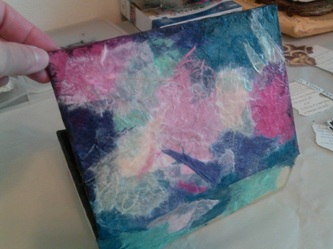
After the inside was dry, I began on the outside. The box had large red words on it that I wanted to block out so I used a piece of thick, handmade paper that I had bought years ago to cover the words. After these sections dried, then I gathered my papers for the outside.
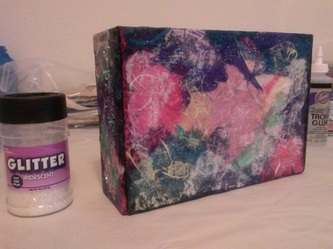
I chose, once again, the Japanese papers. I had a surplus of it leftover after I finished art school and they are fun to work with! I had a variety of colors that were torn into small, manageable pieces that I used to layer on top of each other. When this paper dries it sometimes has a stained glass affect. Just before the Mod Podge dried, I sprinkled a little glitter on the outside!
Step 3
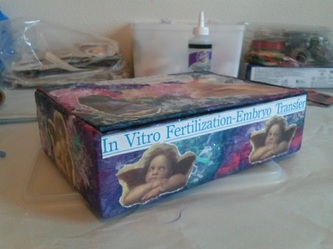
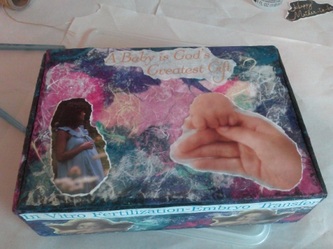
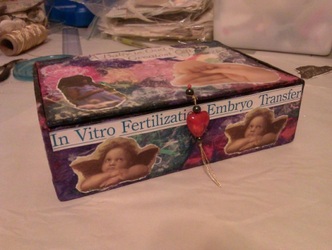
Next, I chose to tear out some pictures that I found on some old cards that expressed my emotions and symbolized my loss. I glued five little angels on the outside edges. On the top, I glued a picture of pregnant woman, an adult hand holding an infant’s hand, and a quote. For a closure piece, I strung several beads on gold thread. I pushed a straight pin through the top of the box to tie the thread to and added some hot glue under the thread to secure it. (Just a note: when gluing cardstock or magazine photos, you may need to press them down. Sometimes the edges will pop up or there may be some air bubbles).